Interior & Exterior Material
The world of modern wall design!
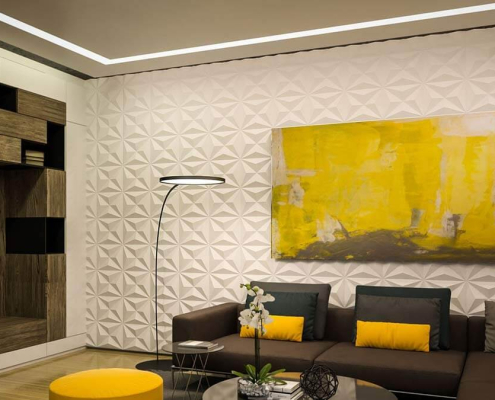
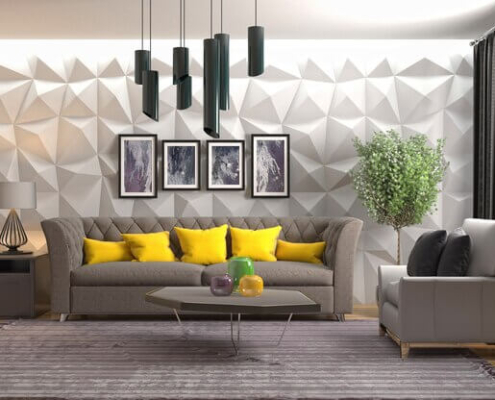
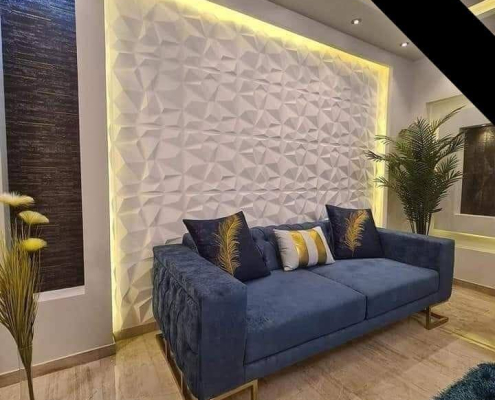
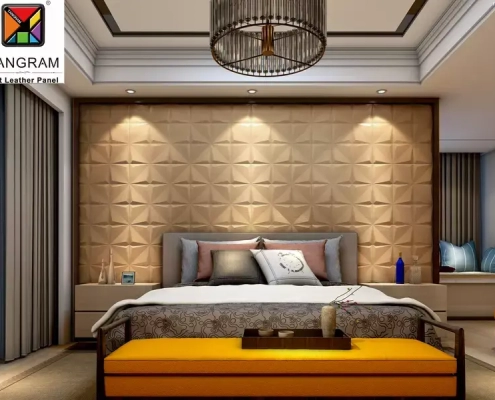
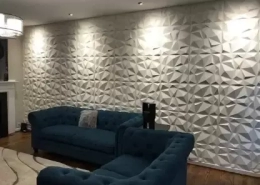
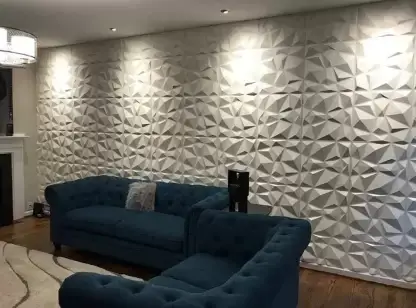
Decorative wall decoration always plays a key role in the style of an apartment, office, restaurant or any other object. 3d Wall decorative panels create a new level of wall decoration in the modern interior design. Any panel design by BeautyWalls is exclusive and patented. So you have the opportunity to make your house space unique buying and using our high-quality gypsum 3d wall panels.
The price of property will be much higher with 3d wall art than the owner invested in it.The use of modern 3d wall panels impressively changes the feeling of space in the room and creates a new sight on interior design of your bathroom, bedroom, kitchen. A feature of the 3d plaster wall panels is that they have a classic white. This means that they can be painted in any color. Gypsum 3D panels can also complement an interesting lighting, thanks to which they become more visible and vivid. With a variety of features, you can turn your home into a cozy and refined area.
We provide 3d models (3ds max) of wall panels for visualization of interiors at the inquiry of designers and architects.
An exclusive collection decorative textured wall panels by BeautyWalls is filled with love and inspiration for the world’s best interiors!
Feel free to contact us and get a better wholesale offer deal on 3d textured wall panels by competitive price
Installation of 3D Plaster Wall Panels
Step 1: Measure the wall (s) horizontally and vertically to determine the required number of panels.
Step 2: Use either a laser or spirit level to determine the perfect horizontal & vertical lines and mark as appropriate
Step 3: Treat both the wall surface and reverse side of panels with a deep penetration primer. If the wall is of wood, MDF or of plywood, then it is best that first coat will be a quartz primer.
Step 4: Using a notched trowel, apply mounting adhesive to the surface of a flat wall or to the back of the panel.
Step 5: Press the panel against the wall, aligning as per the marked lines. If the wall is of chipboard, plywood, or similar material it is recommended to use mounting acrylic adhesive. Installation starts from the bottom of the wall.
Step 6: Continue the panel installation horizontally and vertically combining the panel image symmetry. To get the effect of a solid wall, the plaster 3d panels should be mounted as close as possible to each other. In-fill the seams with plaster filler; remove any excess with a sponge. Once dry and for optimum effect sand to a smooth finish using fine grain sandpaper.
Step 7: If the last row does not allow for the installation of a full-size panel, it can be cut to the desired size with a saw with small teeth. If necessary, clean the edge with sandpaper or a Stanley knife.
Step 8: Before painting, treat the gypsum panels with a deep penetration primer.
Step 9: The panels can be painted with spray guns, rollers, or standard paint brush in any color with acrylic, latex, water-emulsion, or textural paint to 2 or 3 layers, depending on the quality of the paint used.
Step 10: It is advised not to install panels inside Shower Cubicles.

