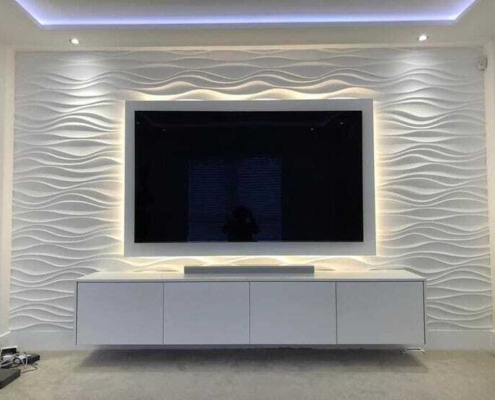
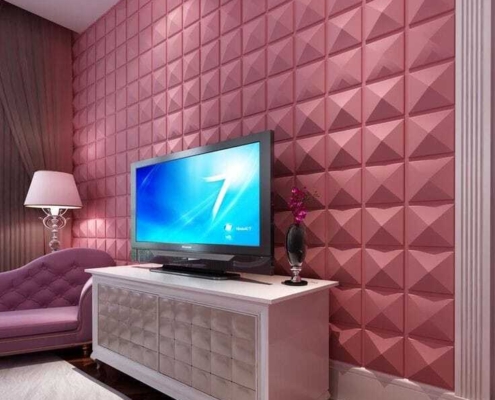
Gypsum 3DWall Panel
Elevate Your Interiors with Gypsum 3D Wall Panels!
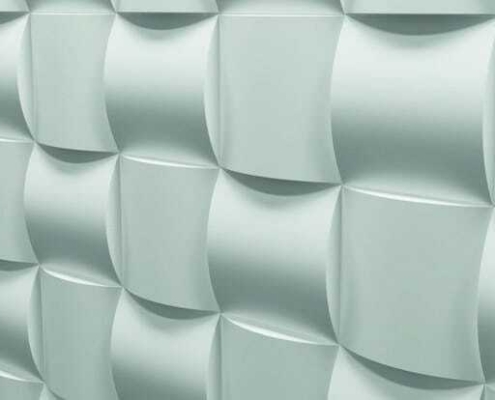
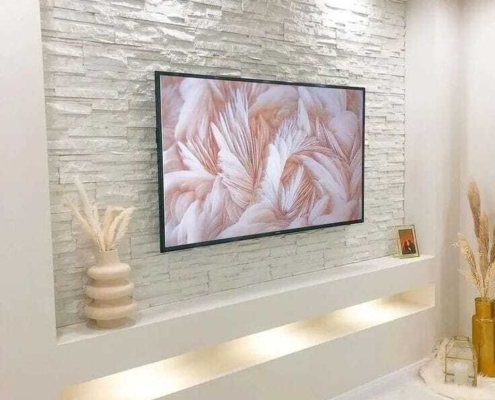
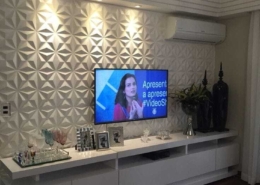
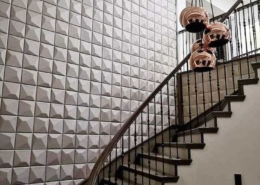
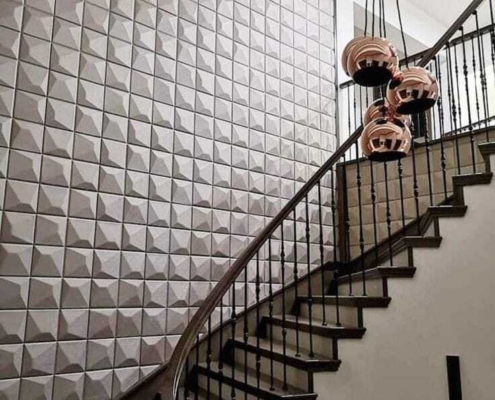
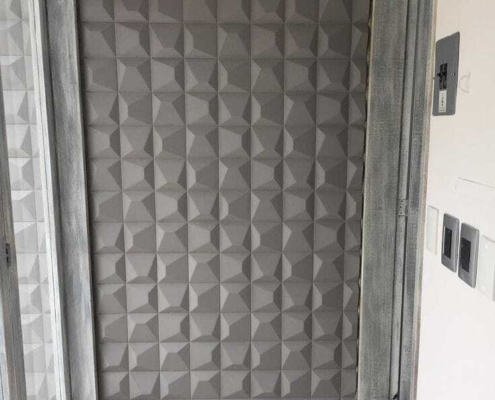
Gypsum 3D wall panels are revolutionizing modern interior aesthetics, adding texture and depth to both residential and commercial spaces. These innovative panels serve as a stunning backdrop, enhancing the overall ambiance of any environment. Investing in gypsum 3D wall panels not only beautifies your space but can significantly boost its market value. Their striking designs create captivating focal points that transform the perception of rooms such as bathrooms, living areas, and kitchens.
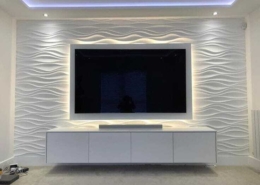
Available in a classic white finish, our gypsum panels offer complete customization. You can easily paint them in any color to match your decor style, and incorporating creative lighting can further amplify their visual impact, making your space feel warm and inviting. For architects and interior designers, we provide 3D models (3ds max) of our panels, facilitating easy visualization and planning to bring your designs to life seamlessly.
Additionally, we offer competitive pricing with exclusive wholesale offers on our gypsum 3D wall panels. Transform your projects with premium quality that meets your budget needs. Explore the endless possibilities and elevate your interiors today!
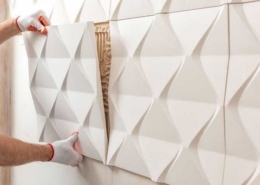
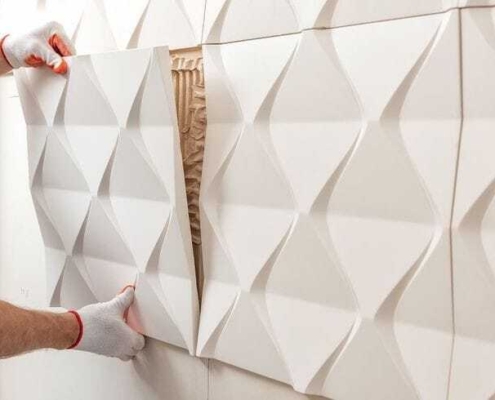
Installation of Gypsum 3D Wall Panels
Step 1: Measure your walls to determine how many panels you will need.
Step 2: Use a laser level to mark perfect horizontal and vertical lines for accurate panel placement.
Step 3: Apply a deep penetration primer to both the wall surface and the back of the panels. For wood, MDF, or plywood, use a quartz primer for optimal adhesion.
Step 4: Using a notched trowel, apply mounting adhesive to the surface of a flat wall or to the back of the panel.
Step 5: Press the panel against the wall, ensuring it aligns with the marked lines. For chipboard or similar materials, use mounting acrylic adhesive, starting from the bottom.
Step 6: Continue to install panels, aligning them for a seamless appearance. Fill seams with plaster filler and smooth out excess with a sponge. Sand to a fine finish once dry.
Step 7: If a panel needs to be cut to fit, use a fine-toothed saw, then smooth edges with sandpaper or a Stanley knife.
Step 8: Prime the panels with a deep penetration primer before painting.
Step 9: Paint the panels in your chosen color using spray guns, rollers, or brushes, applying 2 to 3 layers as needed for full coverage.
Step 10: Avoid installing panels in wet areas like shower cubicles.

