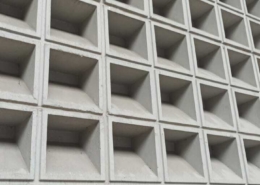
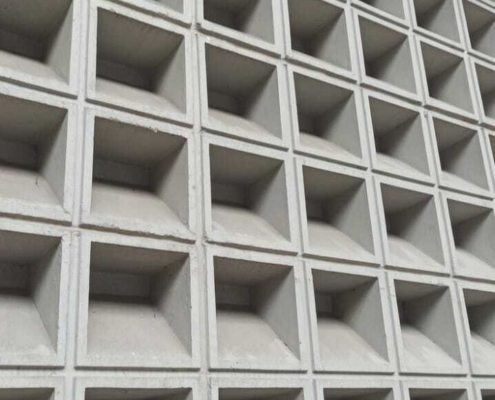
PU Wall Panel
The world of modern wall design!
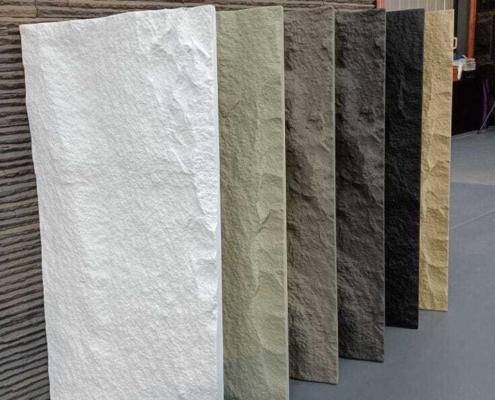
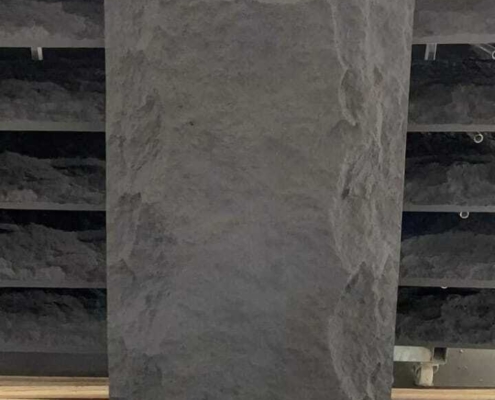
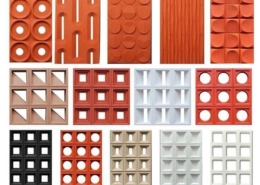
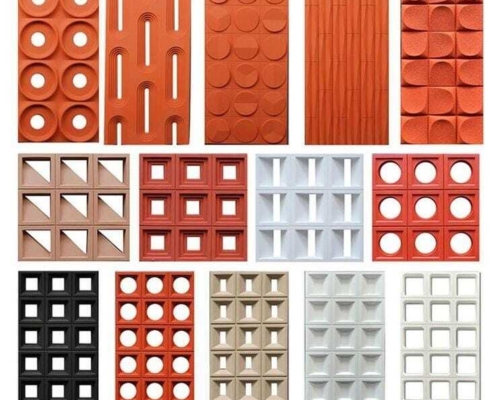
Decorative wall design is essential for enhancing the style of any space—be it an apartment, office, or restaurant. PU wall panels from BeautyWalls introduce a new dimension to modern interior decoration. Each panel design is exclusive and patented, allowing you to create a distinctive environment in your home with our high-quality polyurethane panels. Installing PU wall art can significantly increase property value beyond the initial investment, transforming the atmosphere of any room and providing a fresh take on interior design in spaces like bathrooms, bedrooms, and kitchens.
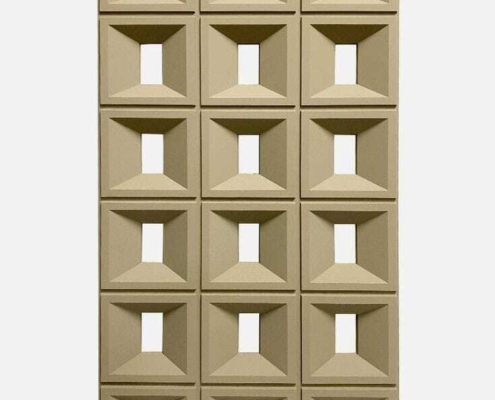
These panels typically come in a classic white finish, making them versatile for any color scheme. They can be further enhanced with creative lighting, adding dynamism and visual appeal. With their unique features, PU wall panels can turn your home into a cozy and sophisticated space. For designers and architects, we offer 3D models (3ds Max) of our wall panels for visualization upon request. Explore our exclusive collection of decorative textured wall panels by BeautyWalls, crafted with inspiration for the world’s finest interiors. Contact us for competitive wholesale offers on PU textured wall panels!
Installation of PU Wall Panels
Step 1: Measure the wall(s) horizontally and vertically to determine the required number of panels.
Step 2: Use a laser or spirit level to mark perfect horizontal and vertical lines.
Step 3: Prepare both the wall surface and the back of the panels with a deep penetration primer. If the wall is wood, MDF, or plywood, apply a quartz primer as the first coat.
Step 4: Apply mounting adhesive to the wall surface or the back of the panel using a notched trowel.
Step 5: Press the panel against the wall, ensuring alignment with the marked lines. Begin installation from the bottom of the wall.
Step 6: Continue installing panels, combining them for a symmetrical appearance. For a seamless look, mount panels as closely as possible. Fill seams with filler and smooth any excess with a sponge. Once dry, sand to a smooth finish.
Step 7: If the last row requires a smaller panel, cut it to the desired size with a fine-toothed saw and clean the edges as needed.
Step 8: Before painting, treat the PU panels with a deep penetration primer.
Step 9: Paint the panels using a spray gun, roller, or brush in any color with acrylic, latex, or textured paint, applying 2 or 3 layers as needed.
Step 10: Avoid installing panels in areas exposed to high moisture, such as shower cubicles.

